A loop fails the moment someone notices it. Not when they recognise the melody, but when they hear the join: a small tick, a swell that lurches, a reverb tail that resets mid-breath. Ambient music is especially unforgiving here. With nothing to hide behind — no drums, no vocal, no chorus — the seam becomes the loudest thing in the room.
Seamless looping is a craft rather than a mystery. Most clicks come from a few predictable causes, and all of them are fixable with a handful of careful edits.
Why loops click
When a digital file jumps from one amplitude to a very different one, your speakers do exactly what they are told: they snap from one position to another. That is the click. It happens whenever the sample value at the end of the loop does not match the sample value at the start.
Three subtler problems sit behind it:
- Envelope mismatch. The loop ends on a decaying pad and restarts at full volume. No click, but the music stumbles.
- Phase mismatch. Two sustained tones that disagree about where they are in their cycles will sum unevenly, creating a hollow, comb-filtered join.
- Structural mismatch. The loop is not an exact number of bars, so the groove creeps forward or back on every repeat.
Watch for DC offset as well. If the waveform sits above or below the centre line, even an edit at a "zero" point will step. A gentle high-pass at 20–30 Hz on the offending track usually clears it.
Prepare the session first
Most loop problems are solved before any fade is drawn, and a couple of minutes of housekeeping saves a great deal of fiddling later.
- Match the project tempo to the material so bars mean something. If the source floats free — a field recording, a drone, a tape improvisation — work in seconds or samples and turn snapping off.
- Loop whole bars, and whole cycles of any slow modulation. A filter sweep that runs every three bars means your loop wants to be twelve bars long, not four.
- Turn on snap-to-zero-crossing for fine edits. If your DAW lacks it, zoom in to sample level and place the edit where the waveform crosses the centre line.
- Trim silence and clean up DC offset before you copy anything.
- Keep a safety copy of the unedited region on a muted track.
The overlap crossfade, step by step
This is the workhorse technique, and it suits almost any sustained material.
- Mark the loop region — bar 1 to bar 9, for instance — and call its length L. Copy it to a second track.
- Slide the copy so that it starts at L minus the crossfade length. If L is 16 seconds and you want a 500 ms fade, the copy starts at 15.5 seconds.
- Draw a fade-out across the last 500 ms of the original and a matching fade-in across the first 500 ms of the copy.
- Render, or bounce, the first L seconds. The seam now contains a blend of the ending material and the opening material.
- Import the rendered file, set the loop points to its exact start and end, and listen. Adjust the fade length, not the loop length.
The reason it works is simple: at the seam, the two halves are doing the same thing musically — one is arriving where the other is leaving — so the blend stays invisible.
Choosing fade length and shape
Short fades preserve transients; long fades hide them. For ambient work, err long.
- 5–15 ms: dry, tonal, percussive material — a plucked string, a struck bell, a rhythmic pulse. Long enough to smooth the sample jump, short enough to keep the attack.
- 40–150 ms: pads, synth chords, sustained vocals.
- 250 ms to 2 seconds: drones, field recordings, noise beds, anything already smeared.
Shape matters as much as length. Equal-power, sine-shaped fades suit unrelated material, since the two sides do not sum predictably and a linear fade would dip in the middle. Linear or equal-gain fades suit closely related material, such as two takes of the same chord. If your DAW offers a curve editor, a gentle S-curve across a slow pad often sounds the most natural.
One more rule: never crossfade a fade. If the material is already decaying at the loop point, extend the region backwards until you find a moment of steady level, then crossfade there instead.
What a crossfade cannot fix
Some loops resist editing, and it is worth knowing which before you spend an evening on fades.
- Out-of-phase modulation. If an LFO is sweeping the filter, the loop must span whole LFO cycles. A four-bar loop against a three-bar LFO cycle will never join cleanly.
- Reverb. Print the reverb and loop it with the dry signal, or freeze it. Looping dry audio into a live reverb means the tail restarts on every pass.
- Pitch drift. Tape wobble or a wandering analogue oscillator gives you no matching cycle to blend. Shorten the loop until the drift is imperceptible, or accept it and let the loop run deliberately long.
- Random events. Birdsong, rain gusts, a passing train. Crossfade the ambient bed, then place the events outside the loop by hand.
How to test a loop properly
Test at the seam, not at the start. Set the loop points and let it run for ten minutes while you do something else — read, make tea, tidy the room. Your attention will drift away and back, and any irregularity will announce itself.
Then work through these checks:
- Listen once at a very low level. Seams are often more obvious quietly.
- Switch to mono. Phase problems that hide in stereo appear immediately.
- Listen on headphones, then on speakers. Different faults surface on each.
- Play the loop against a simple reference — a held note, a gentle pulse. If the join is audible there, it will be audible in the finished piece.
- Check the exported file, not just the session. Some DAWs render a fraction beyond the loop point, and some apply dither you do not want twice.
- Load the file into whatever will actually play it — a sampler, a player, a game engine — and listen there too.
A routine worth keeping
Working method beats plugins. Set the tempo, loop whole bars and whole modulation cycles, trim silence and DC offset, then crossfade on a copy and render the result. Name the file so you know its tempo and length, and keep the un-crossfaded region in a muted track in case you need to revisit it.
Do that four or five times and the process becomes quick — a minute or two per loop. The payoff is a texture that can run for an hour without anyone, including you, hearing where it begins.
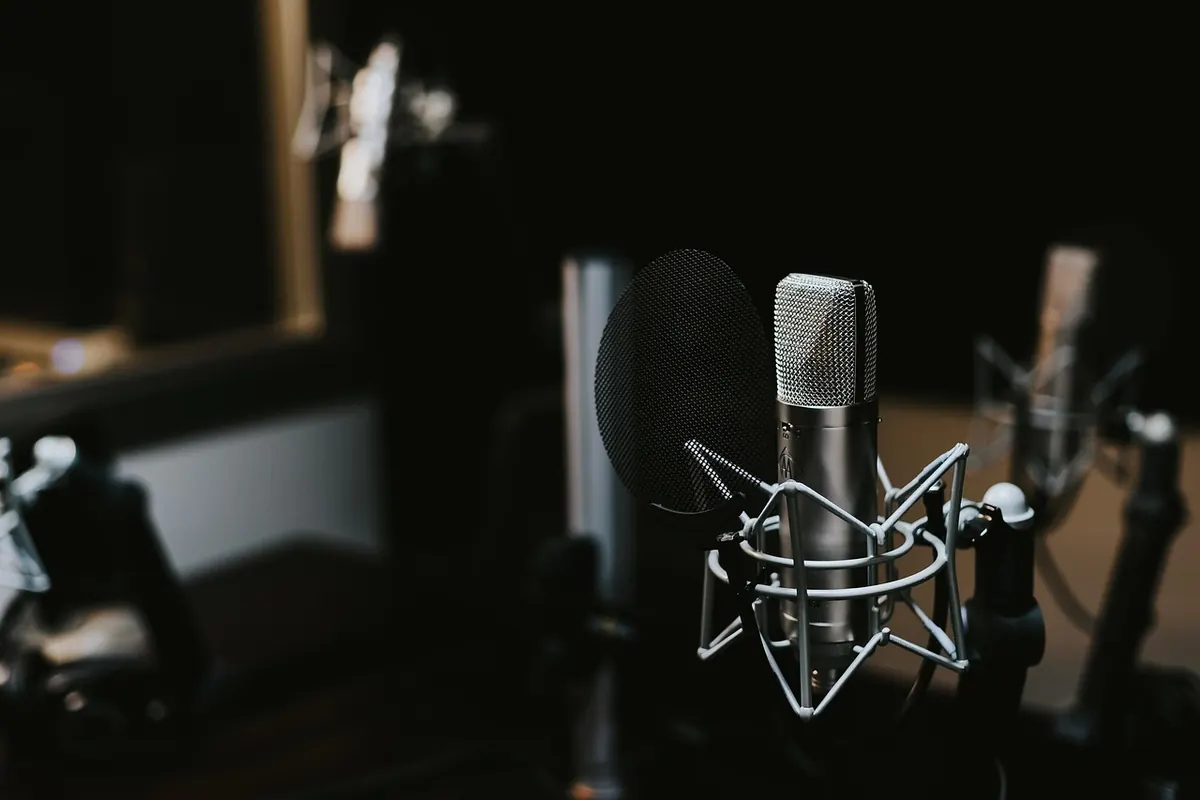
Photo: Pexels / Pixabay